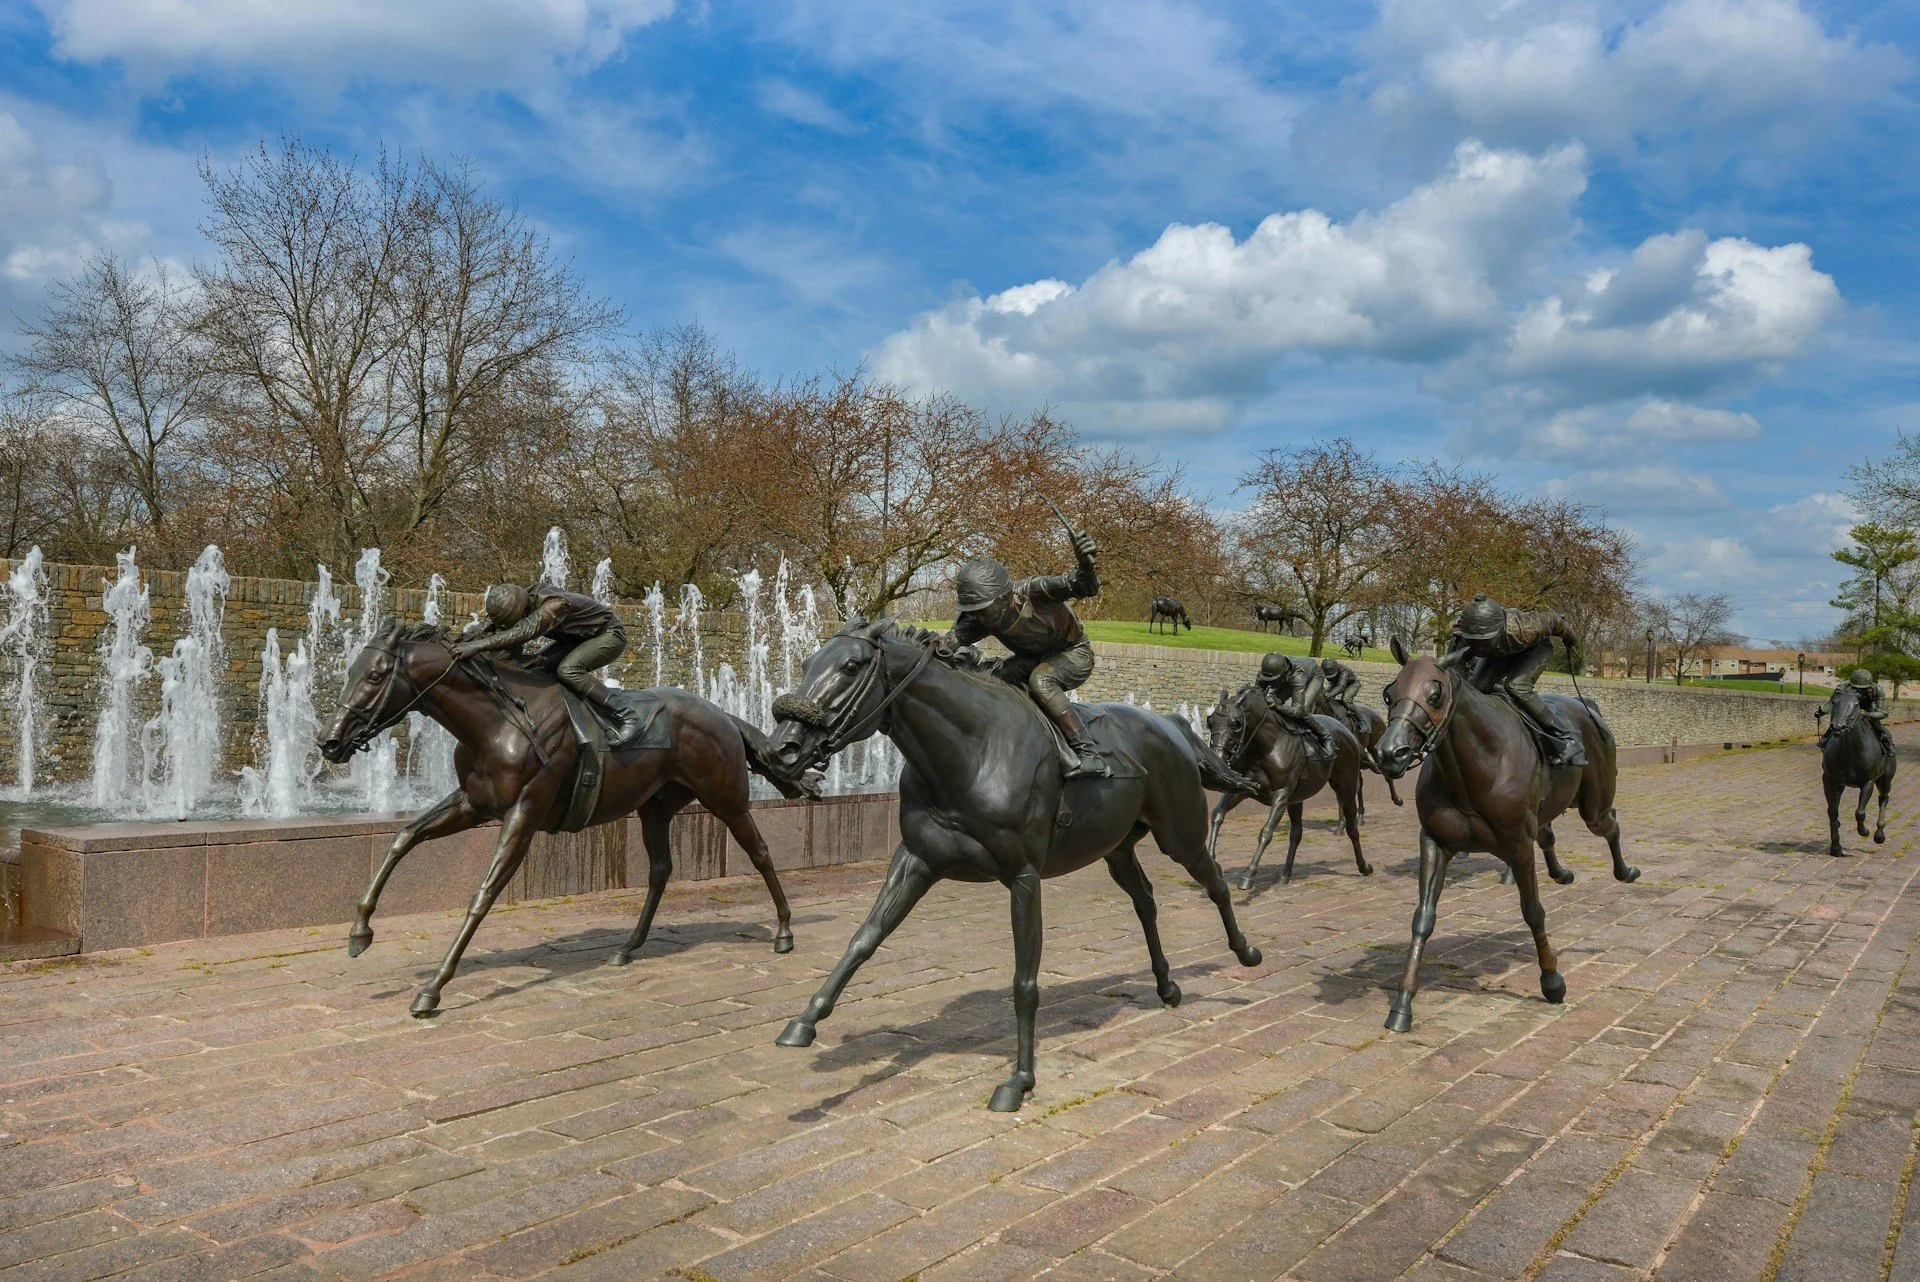
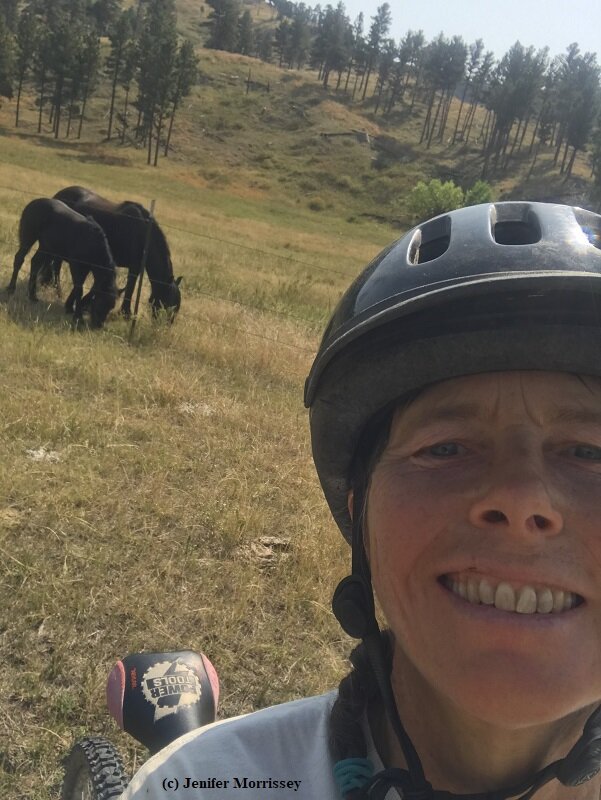
To recognize and celebrate the partnership we have with our ponies and their working heritage
With gratitude to The Fell Pony Society’s Challenge team who created challenges for members from 2022-2024.
When The Fell Pony Society decided not to do a Challenge in 2025, I was disappointed. I enjoyed the opportunities to partner with a pony on a goal; earning a ribbon was icing on the cake! Then one morning, this Partnering with Ponies Tribute came to mind! You can find a registration form by clicking here. Please remember when you register that you are undertaking all of these activities at your own risk.
The goal of this 2025 challenge is to celebrate and even strengthen your partnership with your pony or ponies as well as to celebrate the history that our ponies have of working with their people. Click here to read about the connection between the Tribute activities and working pony heritage.
Please read the following before you ask any questions!
One person, any number of ponies
Complete registration form (click here).
Pay entry fee of US$25 or UK£18 (other countries will be figured out on as needed basis). Fee is for rosette/ribbon and postage to send. Any funds remaining will be donated to the Fell Pony Society in appreciation for the genesis of the Challenge idea. Information on payment is on the registration form.
Complete 25 miles or 25 activities described below or a combination of the miles and activities equal to 25 total. If you have done the activity before with your pony, then improve the quality this time in some way or choose a different activity. Record the completed miles or activity on the activities form.
On the activities form, record two notable moments per activity or mile. Notable moments should reflect progress on the activity (start/complete) or reflect on your partnership with your pony. A notable moment on a ride, for instance, might be how your pony responded to a rabbit crossing in front of you (or a car or a dog, etc.) or how well (or not) it changed gait this time versus last time.
Collect ten photographs of notable moments or mileage showing you with your pony. Make sure to date them somehow and indicate where they fit on the activities form.
Complete and submit the activities form (click here for a copy) and ten photographs.
The timeframe for this Challenge is June through October 2025 inclusive (first of June to thirty-first of October.)
Have fun with your pony/ponies!
Receive a rosette or ribbon (goal is to distribute rosettes by the end of 2025.)
Activities From Which You Can Choose
1. Mind your approach.
When you are going to see your pony, think about when your pony would first be able to see you approach. Then as you approach, pay attention to when your pony indicates he/she has seen you. It may have been a long way before you saw him/her. The next time you go see your pony, notice again when they first see you and consider when they may have first heard you approach. If you can, change up where your pony is kept so you can test how far away they are paying attention to you. Do this at least five times, and note on the activities form your notable moments.
2. Grazing in hand for five minutes at least four times.
If you can, vary the time of day, the location, the weather, or anything else that’s possible to see how your pony behaves differently, or not. Move with your pony; try not to constrain them except for safety. Notice what they notice, including what plants they prefer. For Fell Pony owners, remember that a key part of David Anthony Murray’s first report was recording the diversity of what Fells on the fells ate.
3. Find your pony’s favorite spot to be scratched.
You can use these spots as rewards! Possibilities include point of shoulder, point of withers, point of buttock, front of chest, shoulder bed, behind ear, under mane, etc. Make note of how your pony indicates to you that it is a favorite spot. Click here for more.
4. Ask your pony to lower its head.
Use a soft downward pull, and release the pressure when your pony gives even slightly. Work towards your pony lowering its head all the way to the ground.
5. Once your pony will lower its head to the ground (#4), ask it to keep it there until you tell them it’s okay for them to raise it.
6. Once your pony will lower its head to the ground and keep it there (#5), ask it to raise its head back up when asked.
7. Stand still.
Your pony’s ability to stand still when you mount, when you are hitched to a cart, or even just grooming is a skill that enhances safety. The skill can be taught when on a halter and leadrope and will usually translate to riding, driving, draft, and more. Click here and scroll down to “Standing Still” for a description.
8. Take a single step.
This is an especially useful skill when working in harness but can be helpful in many other contexts too. Click here and scroll down to “Step” for a description.
9. Back against a wall.
On a halter and lead, back your pony until their butt touches a wall. Click here and scroll down to “Butt to the Wall” for a description.
10. Lead your pony from both sides (near and off/left and right) for at least twenty yards.
You are looking for quality here, not distance. Strive for your pony to lead equally well from either side.
11. Back your pony through a gate on a lead rope.
This is a great test of leadership skills. Usually you’ll start with firm downward pressure on the leadrope under the chin to guide them, releasing the pressure whenever they give a good try.
12. Back your pony through a gate at liberty.
After you’ve achieved #11, get to a point where you can line them up and shake your finger and they back up without hesitation. An intermediate step might be shaking the lead rope to back them.
13. Lead your pony without a leadrope. Click here for a full description.
14. Pick up your pony’s feet from the offside.
For instance, standing at the withers, run your hand down the near leg and ask your pony to lift its foot as if you were going to pick it. Now, keeping in mind your pony might be surprised by this and you might have to work up to doing it, run your hand down the far leg, and ask your pony to lift that foot. Do both front and hind legs. Starting with the hind is often easier.
15. Move the snap.
Click here and scroll down to “Move the Snap” for a full description. Make note of where you start and how much progress you make. It’s a great test of how much sensitivity you’ve developed in your handling of your pony. Click here for another description. and
16. Lead loop spin.
Stand with your pony facing you. Your pony needs to be haltered and has a lead rope connected to the halter. You’ll need one that is at least ten feet long. Without moving your pony’s feet, run the leadrope down one side of your pony, around its buttocks and back up the other side so you are once again standing with your pony facing you. Now slowly and gently begin pulling on the lead rope. The goal is for your pony to calmly follow the pull and spin around to face you again. A pony can give you all sorts of reactions to this use of a lead rope before they will calmly stand and then spin. Do it from both sides.
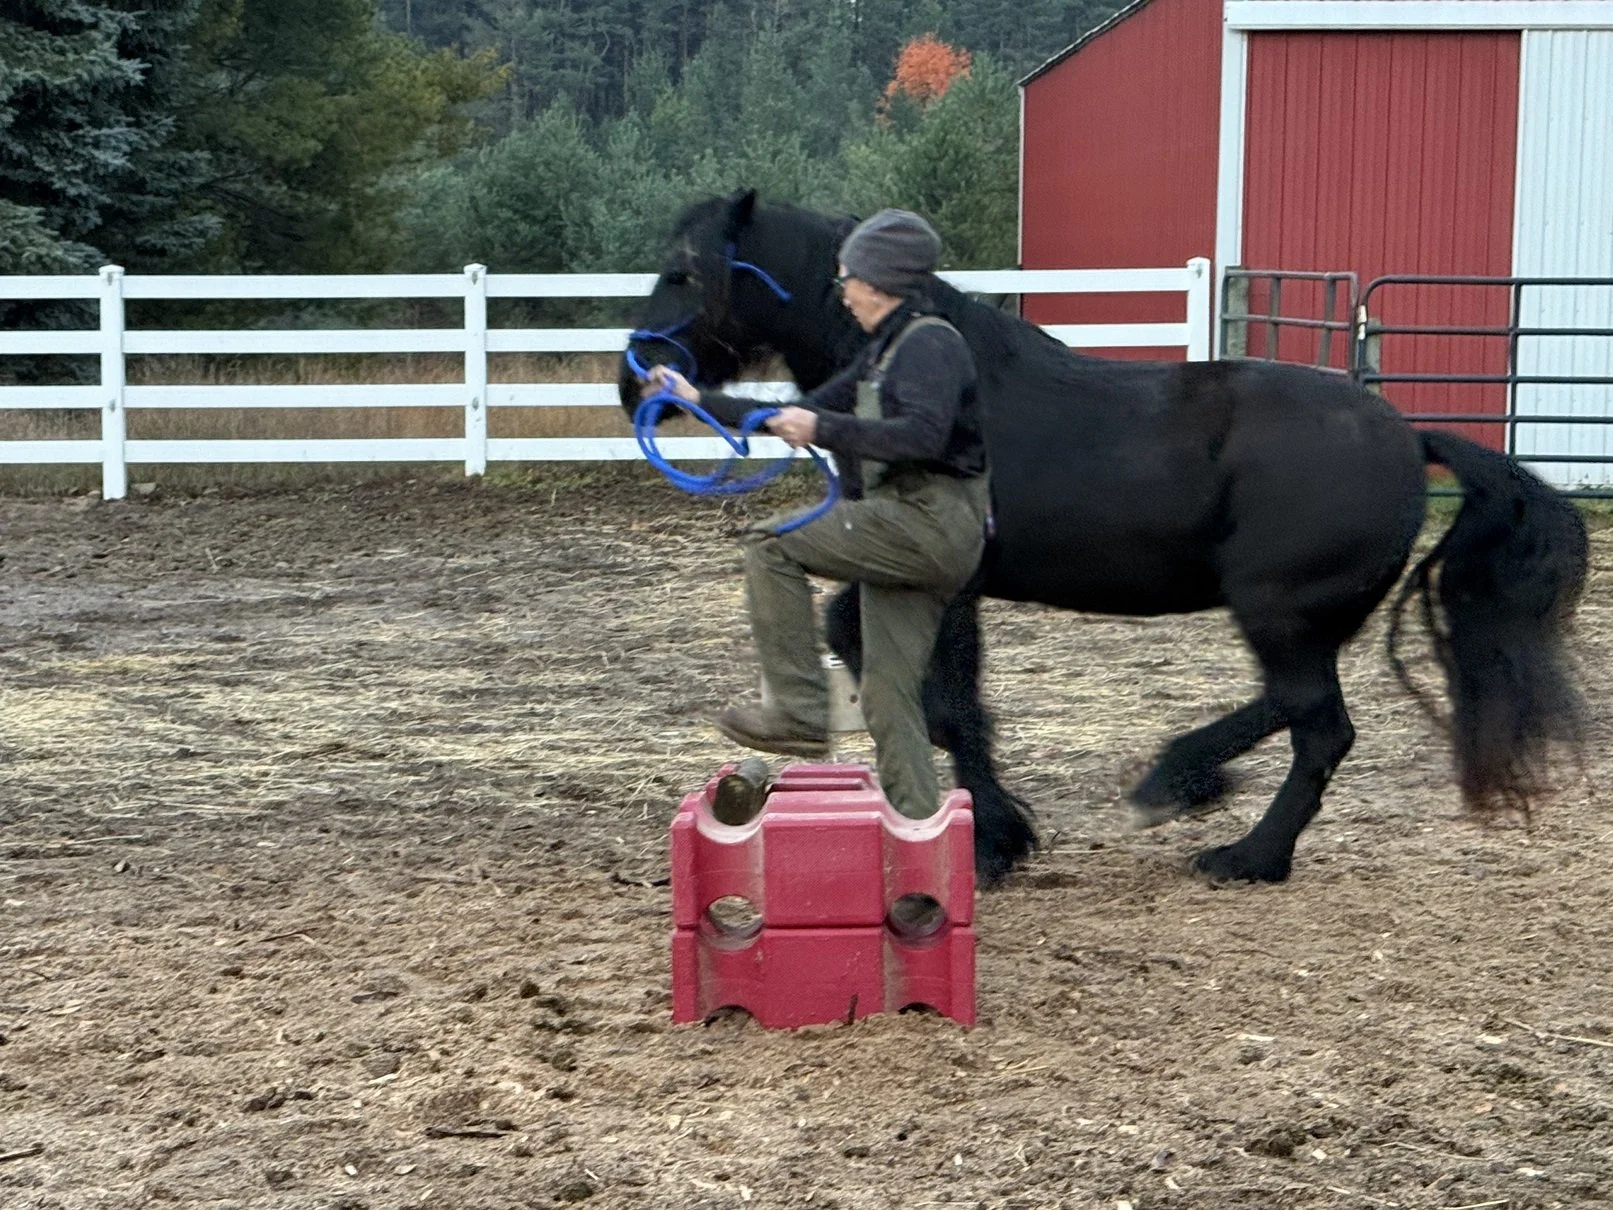
17. Umbrella.
Umbrellas are very useful tools for exposing ponies to unusual objects because they can be folded, unfurled, twirled, circled, and held high or low. Make note of how your pony reacts to the umbrella, especially opening it the first time, and then another time when your pony’s reaction is different.
18. Sleigh bells or musical instrument.
For some ponies the sight, sound, and movement of a string of sleigh bells is no big deal, and others have different reactions. If you don’t have sleigh bells, use a musical instrument. Make note of how your pony reacts the first time you share time with bells or an instrument and then again another time. Click here to watch a video of a herd of ponies and their varied reactions.
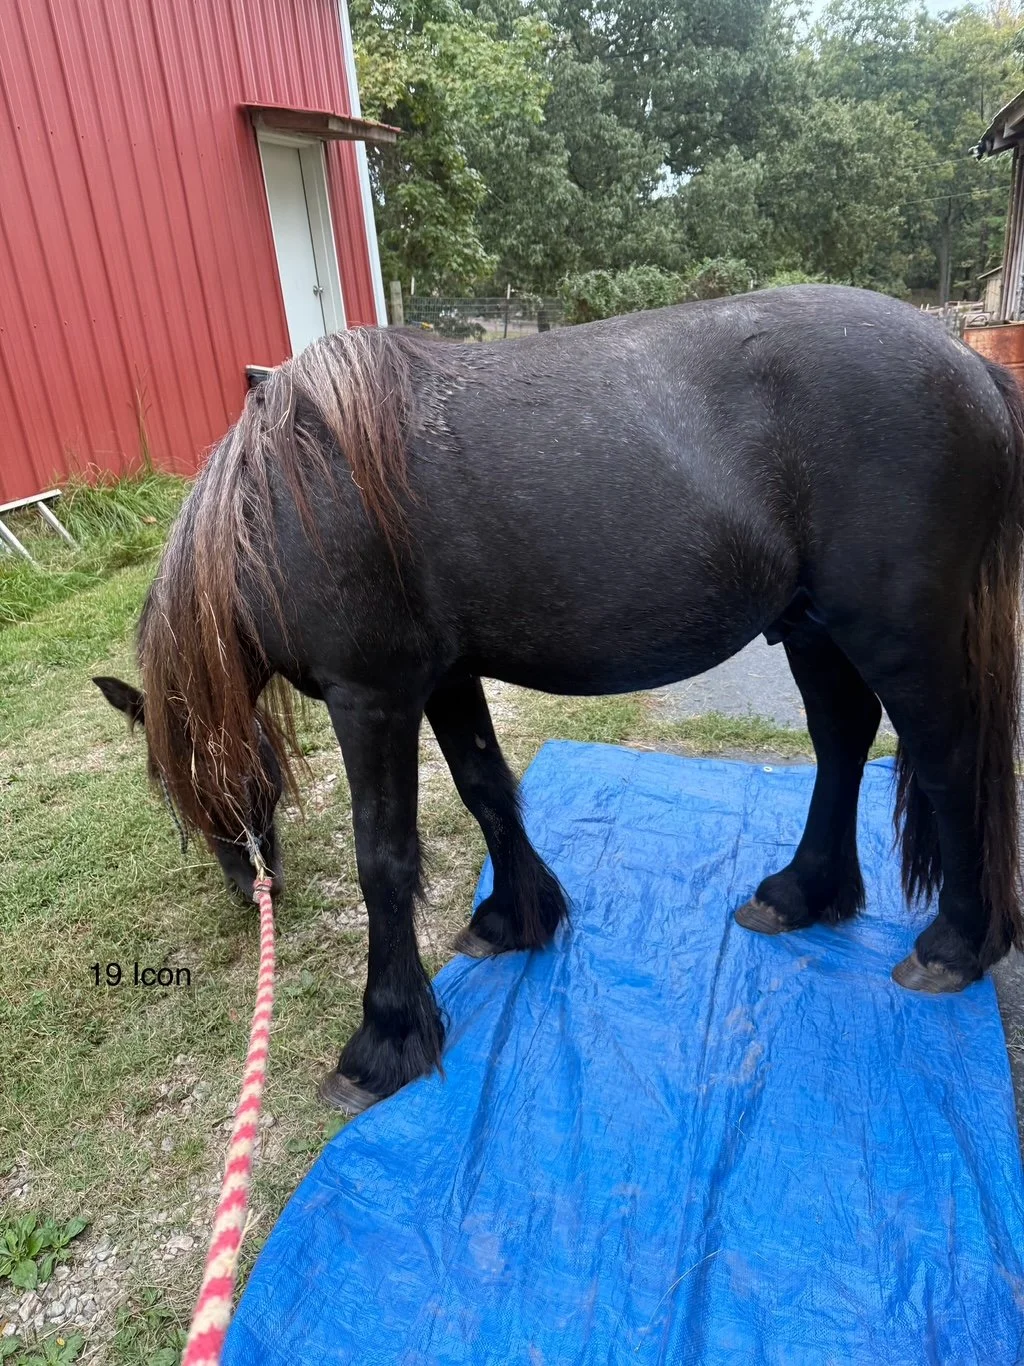
19. Walk your pony across a tarp.
Click here for a description.
20. Drape your pony with the tarp.
The goal is for your pony to stand still while the crinkly unusual object is placed over them and taken off. Have one end of the tarp up the neck towards the poll and the other on or back of the rump. For some ponies you will need to start with the tarp several feet away until they trust you with it.
21. Ground drive from the withers on both sides for at least twenty yards with a quality whoa.
Standing at the withers or slightly behind (about where you’ll be when mounted) with the leadrope in your hand, ask for a walk forward. Flick the tail of the lead rope behind you if you need to encourage forward movement. Ask for a whoa. Be sure to get a clean one (no spinning the hind end or stopping only because they sense you stopping.) Be sure to do this from both sides. Depending on your stamina, you can also ask for the trot.
22. Circling.
Ask your pony to walk around you at the distance the lead rope will allow four times without stopping and without encouragement. This is not lunging. It’s about teaching maintenance of a gait until asked to change speed or stop. No clucks or words or raising your arms or use of a stick or whip to keep your pony going. You are just standing still and quietly holding the lead rope. This isn’t easy, for your pony or you! Start with a single circle until it’s perfect. Then progress to two, three, and four. Once you have it in one direction, do it in the other direction.
23. Jumping over a pole.
With a long lead rope, you can teach a pony to circle and jump a pole or to go back and forth over a pole. Click here to see a video about this.
24. Figure 8s.
Set up cones or similar objects and teach your pony to do a figure 8 pattern. Click here for a video showing figure-8s.
25. Around the World.
I learned this from the late driving and draft clinician Steve Bowers. Attach a plastic bag to the end of a stick. Get your pony to accept being touched by the plastic bag. Then work on them standing quietly while you ‘trace’ the outline of their body: start at the withers, go down the center of the back, down the tail (extra credit for up under the tail and then down the buttocks!), down to the feet, around the coronet band, up the inside of the hind leg, along the belly, down the back of the front leg, around the coronet band, up the front of the front leg, up the chest, up the underside of the neck, under the chin, around the tip of the nose, up the head, between the ears, down the neck, to the withers. Go both directions and do it from both sides.
26. Place a saddle pad or bareback pad on your pony’s back (for a pony who hasn’t ever had a saddle or pad on).
You can choose how far to go with this activity; for instance if you have a pony younger than three then you might stop after just placing the pad on their back. This activity could also be done with a lightweight saddle. First get the pony used to the idea of something on their back. When that is okay, then get them used to tightening the cinch. When that is okay, then get them used to moving with the cinch tightened at the walk. When that is okay, move at the trot. Next add the stirrup leathers and tie them under the belly. Proceed up the scale as before. Then add the stirrups, letting them dangle. You want this to go really well obviously because this is in their future, so make sure to set your pony up for success.
27. Highway Clean-up.
A client once told me about something she’d done with a three-year-old. She put the bareback pad on and tied small plastic bags to it (the pony had been thoroughly desensitized to these things already of course). Then they went walking along the highway and picked up trash. There are lots of potential new things for a young pony in this task, so be sure to set them up for success.
28. Take your pony across a water body.
While you might be able to get your pony to cross water on their own, it will likely be better for your relationship and be a quicker lesson if you plan to get your feet wet, too! They must get their feet wet; no credit for them jumping it! You could use a big puddle, a wading pool, a stream, a pond, the ocean or whatever you have available. The goal is for them to be calm and curious, maybe even drinking from the water they are crossing!
29. Load your pony into a trailer or horse box by sending it in rather than leading it in.
It’s safer to send than lead because you can’t be crushed against the side. Begin by asking the pony to calmly walk in. When they are calm and comfortable with that, there are other possibilities, such as shown in this picture. Fell Pony mare Newfarm Valencia trots into the trailer after being sent at that gait. This photo illustrated an article by Linda Parelli in The Native Pony magazine in 2003-4.
30. Back your pony up a ramp into a trailer/horse box.
31. Load your pony into a trailer or horsebox without a lead rope.
32. Cross a bridge, either in hand or ridden.
33. Cross a cattleguard/cattle grid.
I’ve been known to have a driving pony transport a piece of plywood to a cattleguard so that I could put it down to create a way to drive across the cattleguard. A variation on this could be set up to do on foot with a pony being led.
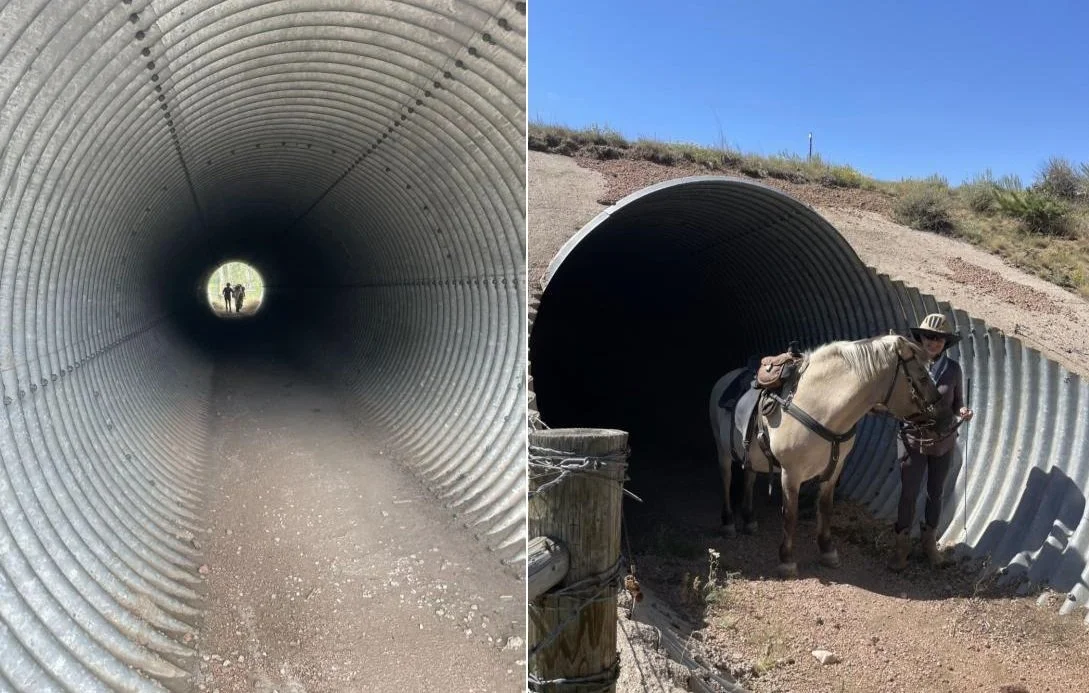
34. Go under a bridge or through an underpass.
I was told once that a pony I bought was great about going across bridges but she took issue with underpasses. How interesting! Frankly, I don’t know where I’d find an underpass to work with, but it’s a great point that it’s an opportunity for training.
35. Pony one pony from another.
This is a great way to get a young pony out into the world and to begin to teach voice commands (assuming your mount/cart pony is used to voice commands.) Click here for a video about ponying.
36. Ground driving for at least one hundred yards.
Use a surcingle or the bareback pad with stirrups tied under the belly as a surcingle. String lines from the halter back through the stirrup leathers to you and work on walk and whoa. I recommend not doing this until driving from the withers is going really well because your voice from behind is going to be confusing so having the general idea down first will help. After walk and whoa are established, you can work on back and turning.
Remember! Have Fun!